Manage Alerts and Notifications Using Edge Xpert Manager
To manage notifications using the Edge Xpert Manager you need to start Edge Xpert with the xpert-manager and support-notifications options, as shown below:
edgexpert up xpert-manager support-notifications
Notifications View
Open a browser and go to localhost:9090. The default username and password is admin.
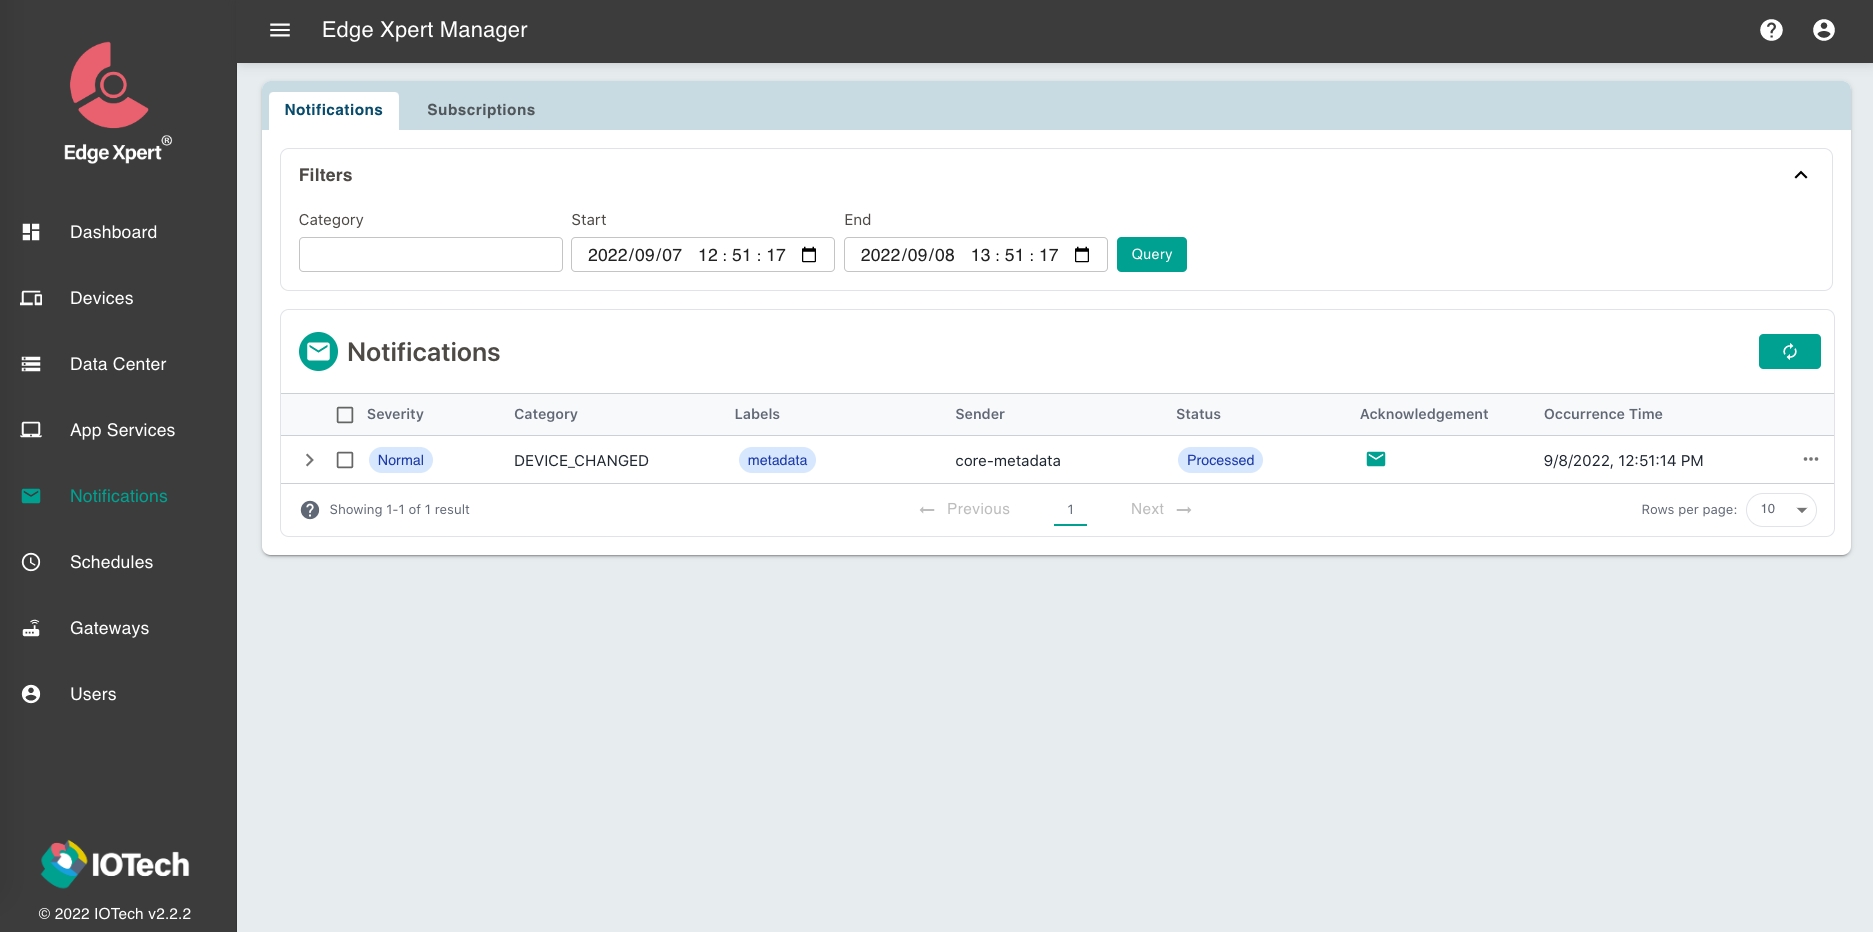
Select Notifications from the main menu, you can see the following tabs:
- Notifications
- Subscriptions
Info
Select Notifications to view the Notifications pane and select Subscriptions to view the Subscriptions pane.
Manage Notifications
The Notifications pane allows you to view, acknowledge and delete notifications.
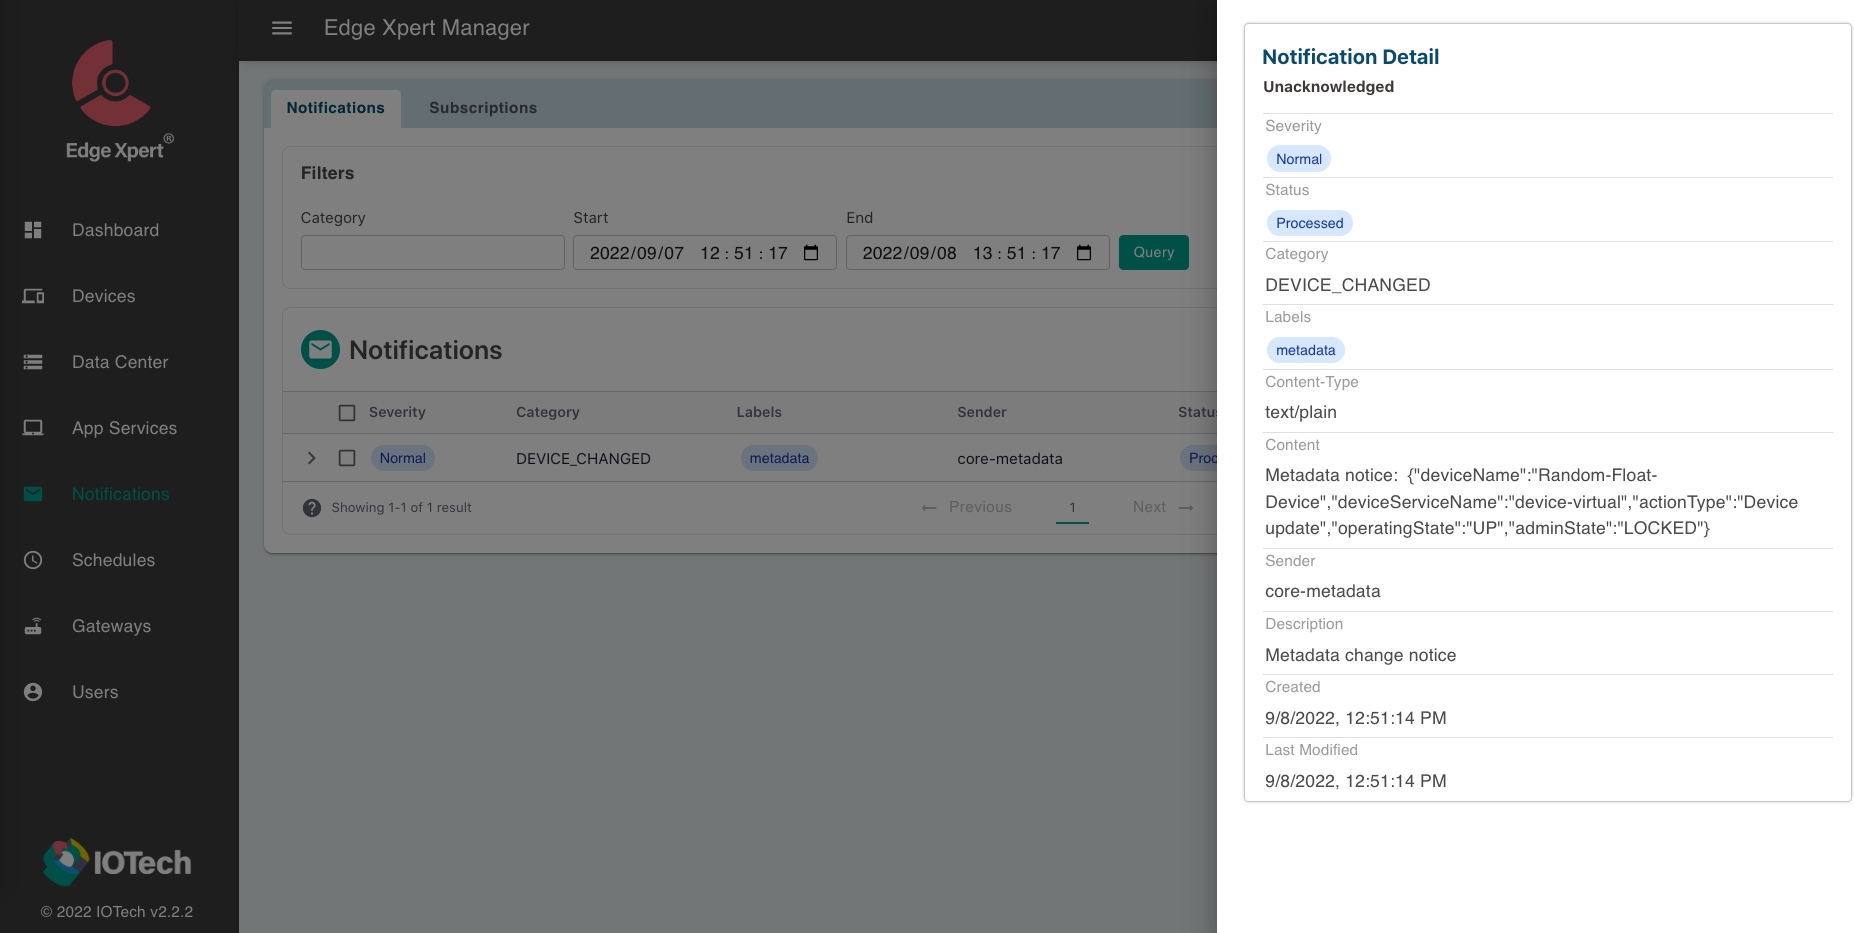
Several microservices automatically send a POST request to trigger the Alerts and Notifications with a NORMAL or CRITICAL notification when something changes.
For example, the following illustration shows that the Random-Float-Device in the Virtual Device Service has been locked; such a change immediately triggers a NORMAL notification.
Search for Notifications
Use the filters on the top of the Notifications pane to search for notifications either by time period or notification category.

Acknowledge Notifications
-
Click the
 icon to acknowledge a notification.
 -
Click the
 icon to unacknowledge a notification.
View Transmissions
Click the ![]() icon on the left side of notifications to view the transmission records.
icon on the left side of notifications to view the transmission records.

Delete Notifications
Click the ![]() icon to delete a notification.
icon to delete a notification.
Manage Subscriptions
To receive notifications you need to set up a subscription.
The Subscriptions pane allows you to do the following:
- View subscriptions details
- Add new subscriptions
- Edit subscriptions
- Delete subscriptions
The Subscriptions panel is shown below:

Add a Subscription
To add a Subscription, complete the following steps:
- Select the
 icon
icon -
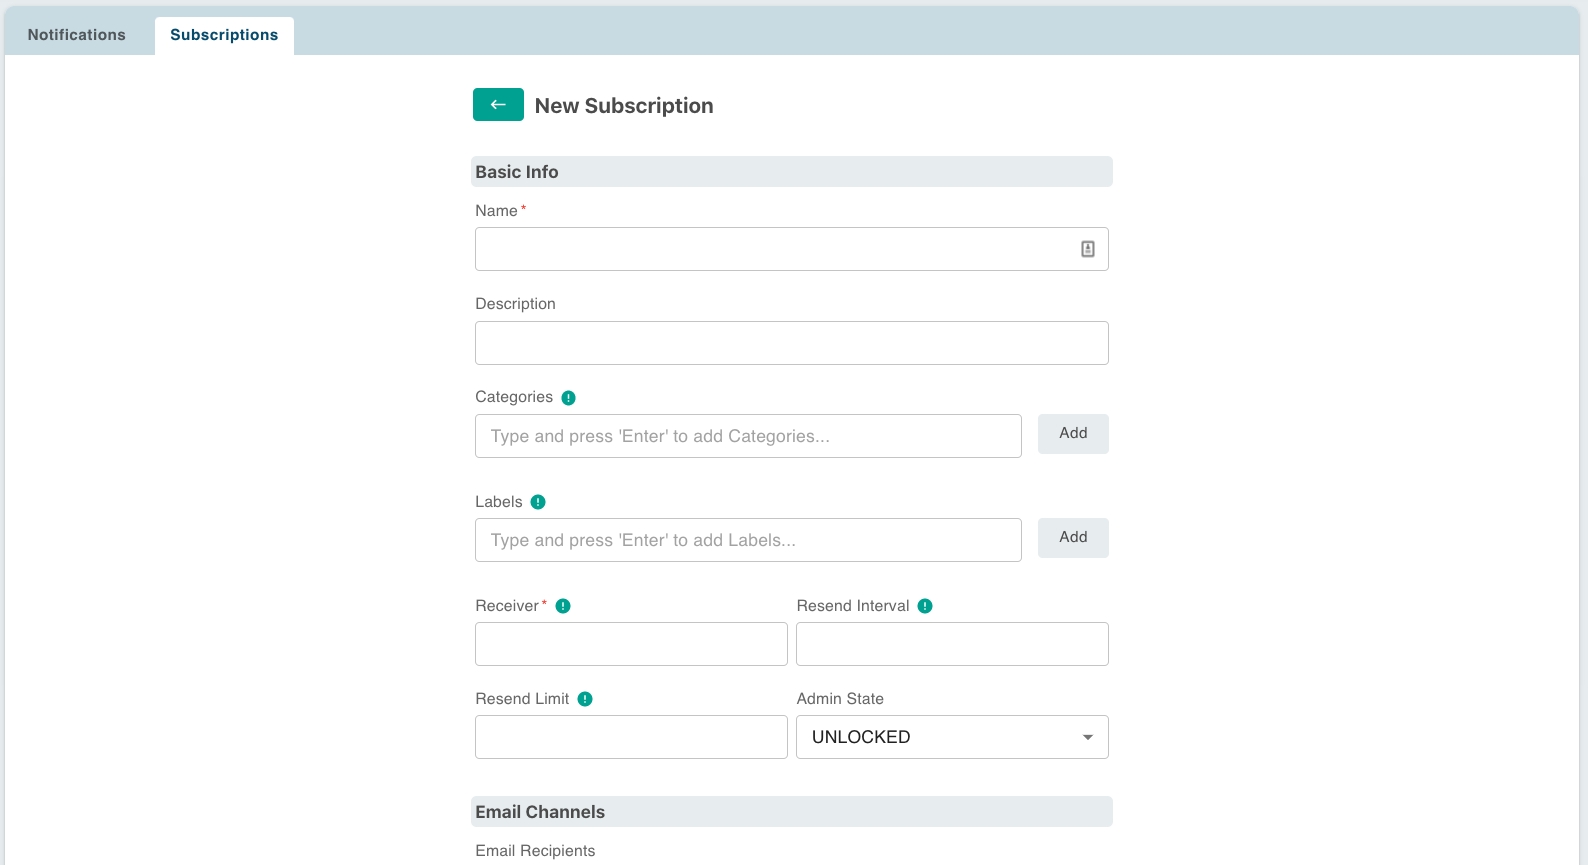
The Add Subscription dialog box displays, as illustrated below:
-
Complete the fields, as described in the following table:
Field Description Name Unique name for the subscription Description A description explaining the intent of the notification Categories The notification category to subscribe to, e.g. DEVICE_CHANGED
You can subscribe to a particular notification category or multiple notification categoriesLabels The notification label to subscribe to. You can subscribe to one or more notification labels Receiver The name of the party interested in the notification
e.g. SystemAdministratorResend Limit The retry limit for attempts to send notifications Resend Interval The interval between the attempts to send notifications. The interval value must be a Go Duration AdminState The Administrative state indicating the subscription is locked or unlocked Email Channels The e-mail addresses to witch the Alerts and Notifications microservice should send notifications REST Channels The configuration for sending notifications via REST ZeroMQ Channels The configuration for sending notifications via ZeroMQ MQTT Channels The configuration for sending notifications via MQTT -
Select Save to add the subscription.
Note
It is allowed to set up multiple channels within a subscription.
Edit a Subscription
To edit a subscription, select the ![]() icon from the Actions column of the subscription you wish to change.
icon from the Actions column of the subscription you wish to change.
Delete Subscriptions
To delete a subscription, click the ![]() icon from the Actions column of the subscription you wish to change.
icon from the Actions column of the subscription you wish to change.
To delete multiple subscriptions at once, select the checkbox for all the subscriptions you wish to delete and click the ![]() icon at the top of the page.
icon at the top of the page.