Onboarding Devices
One of the first steps when using Edge Xpert is usually the onboarding of the edge devices and sensors to the platform. This can be done either via the Edge Xpert Manager UI or via REST commands which can be invoked via the command line.
Edge Xpert Manager UI
Onboard the Modbus device
-
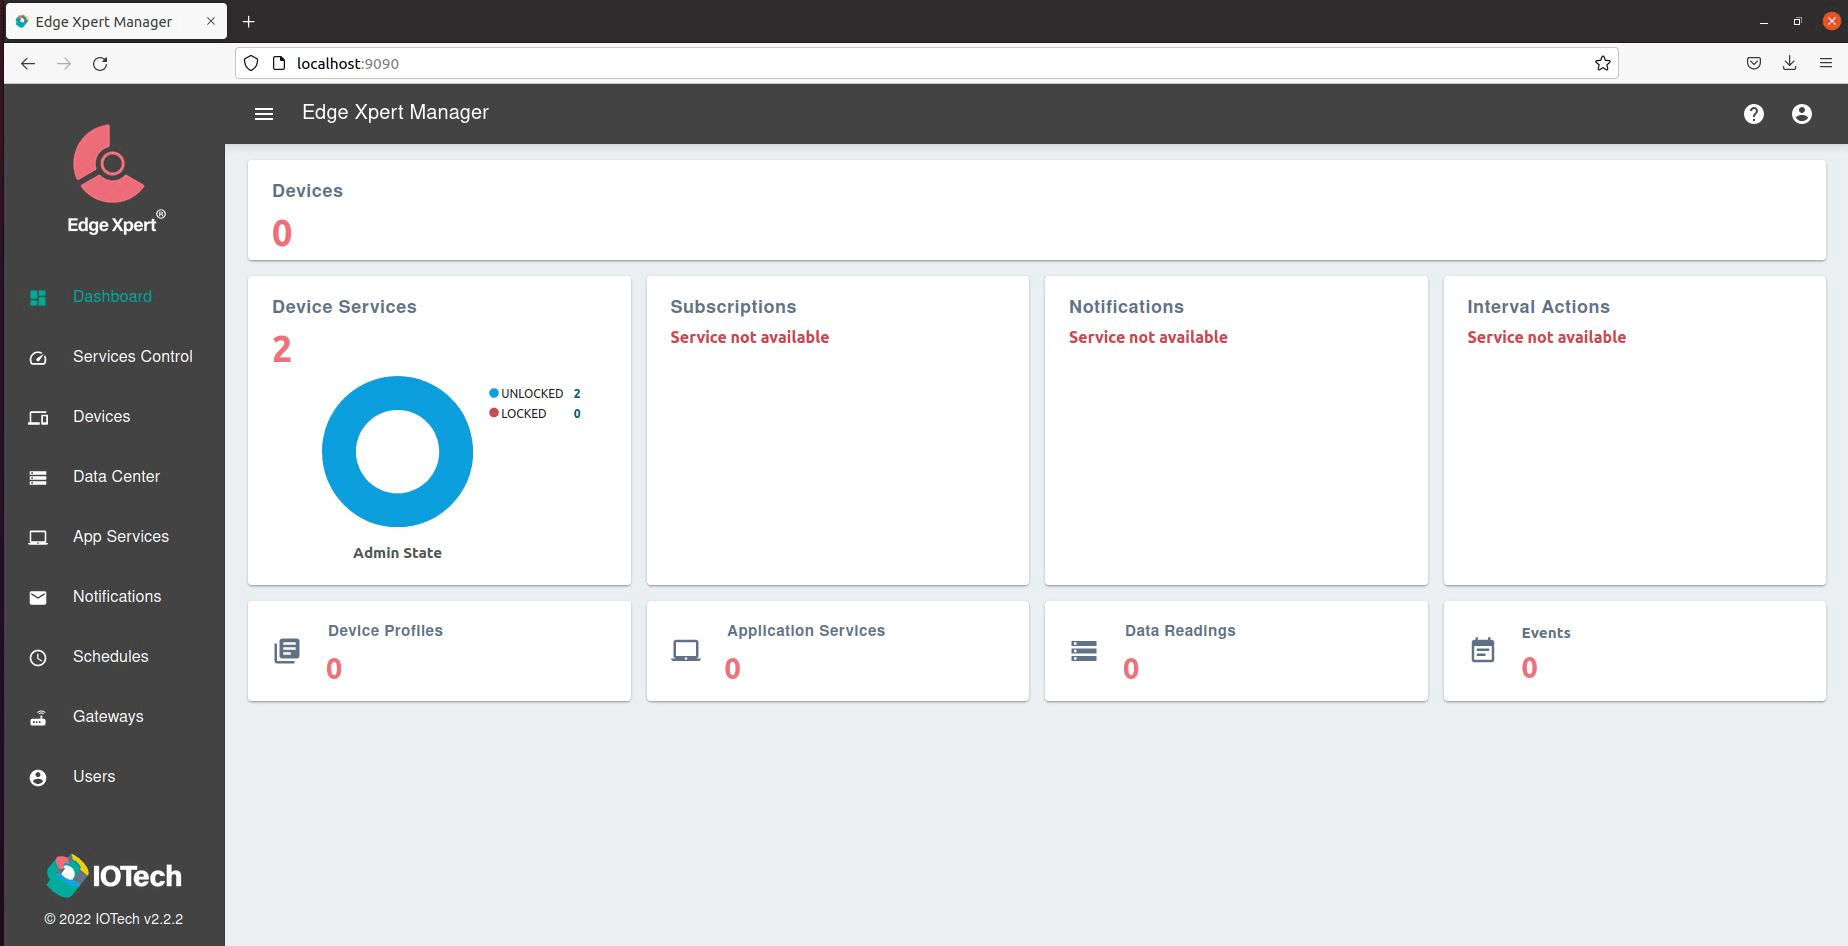
In a web browser, navigate to http://localhost:9090
- The initial login is admin/admin
- The Edge Xpert Manager dashboard view will display as below:
-
Upload the ChemicalTank device profile
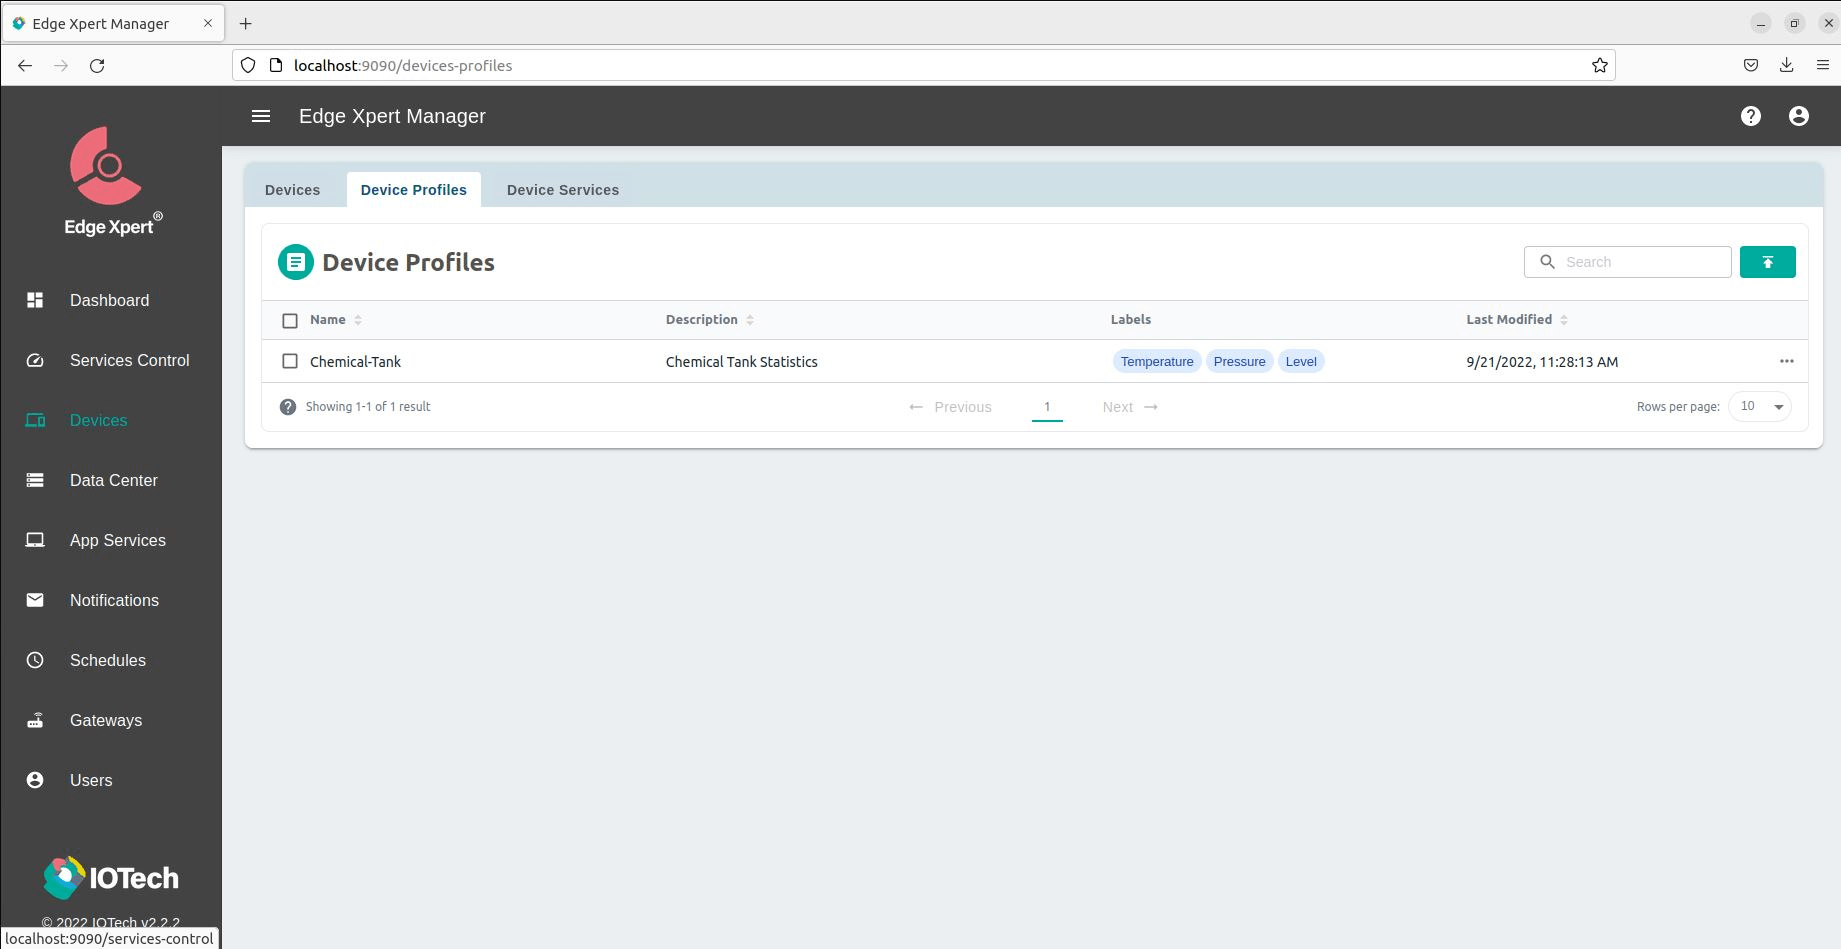
- Navigate to the Devices page
- Open the Device Profiles tab and select Upload Profile

-
Choose ChemicalTank.yaml from the tutorial project and select Save
-
Onboard the device with the onboarding wizard
- Navigate to the Devices page and select Add Device

-
Use the following settings to onboard the device. Any fields not mentioned below should be left blank/default
Field Value Name Chemical-Tank Protocol Modbus-TCP Host 172.17.0.1 Port 502 Unit Identifier 1 Device Profile Chemical-Tank.yaml Device Service device-modbus Auto Events - Interval: 1s, onChange: unchecked/false, Resource Name: Temperature
- Interval: 1s, onChange: unchecked/false, Resource Name: Pressure
- Interval: 1s, onChange: unchecked/false, Resource Name: Level
Info
Auto events are created by selecting
 to add a new auto event. Once configured, select
  to save.
 -
See the screenshot from the Edge Xpert Manager below:

-
Click “Save” and the device should be onboarded as shown below:

View the Modbus data
The data values can be retrieved on the Control Device page
- Find the Chemical-Tank entry listed under Devices
- Select Control Device

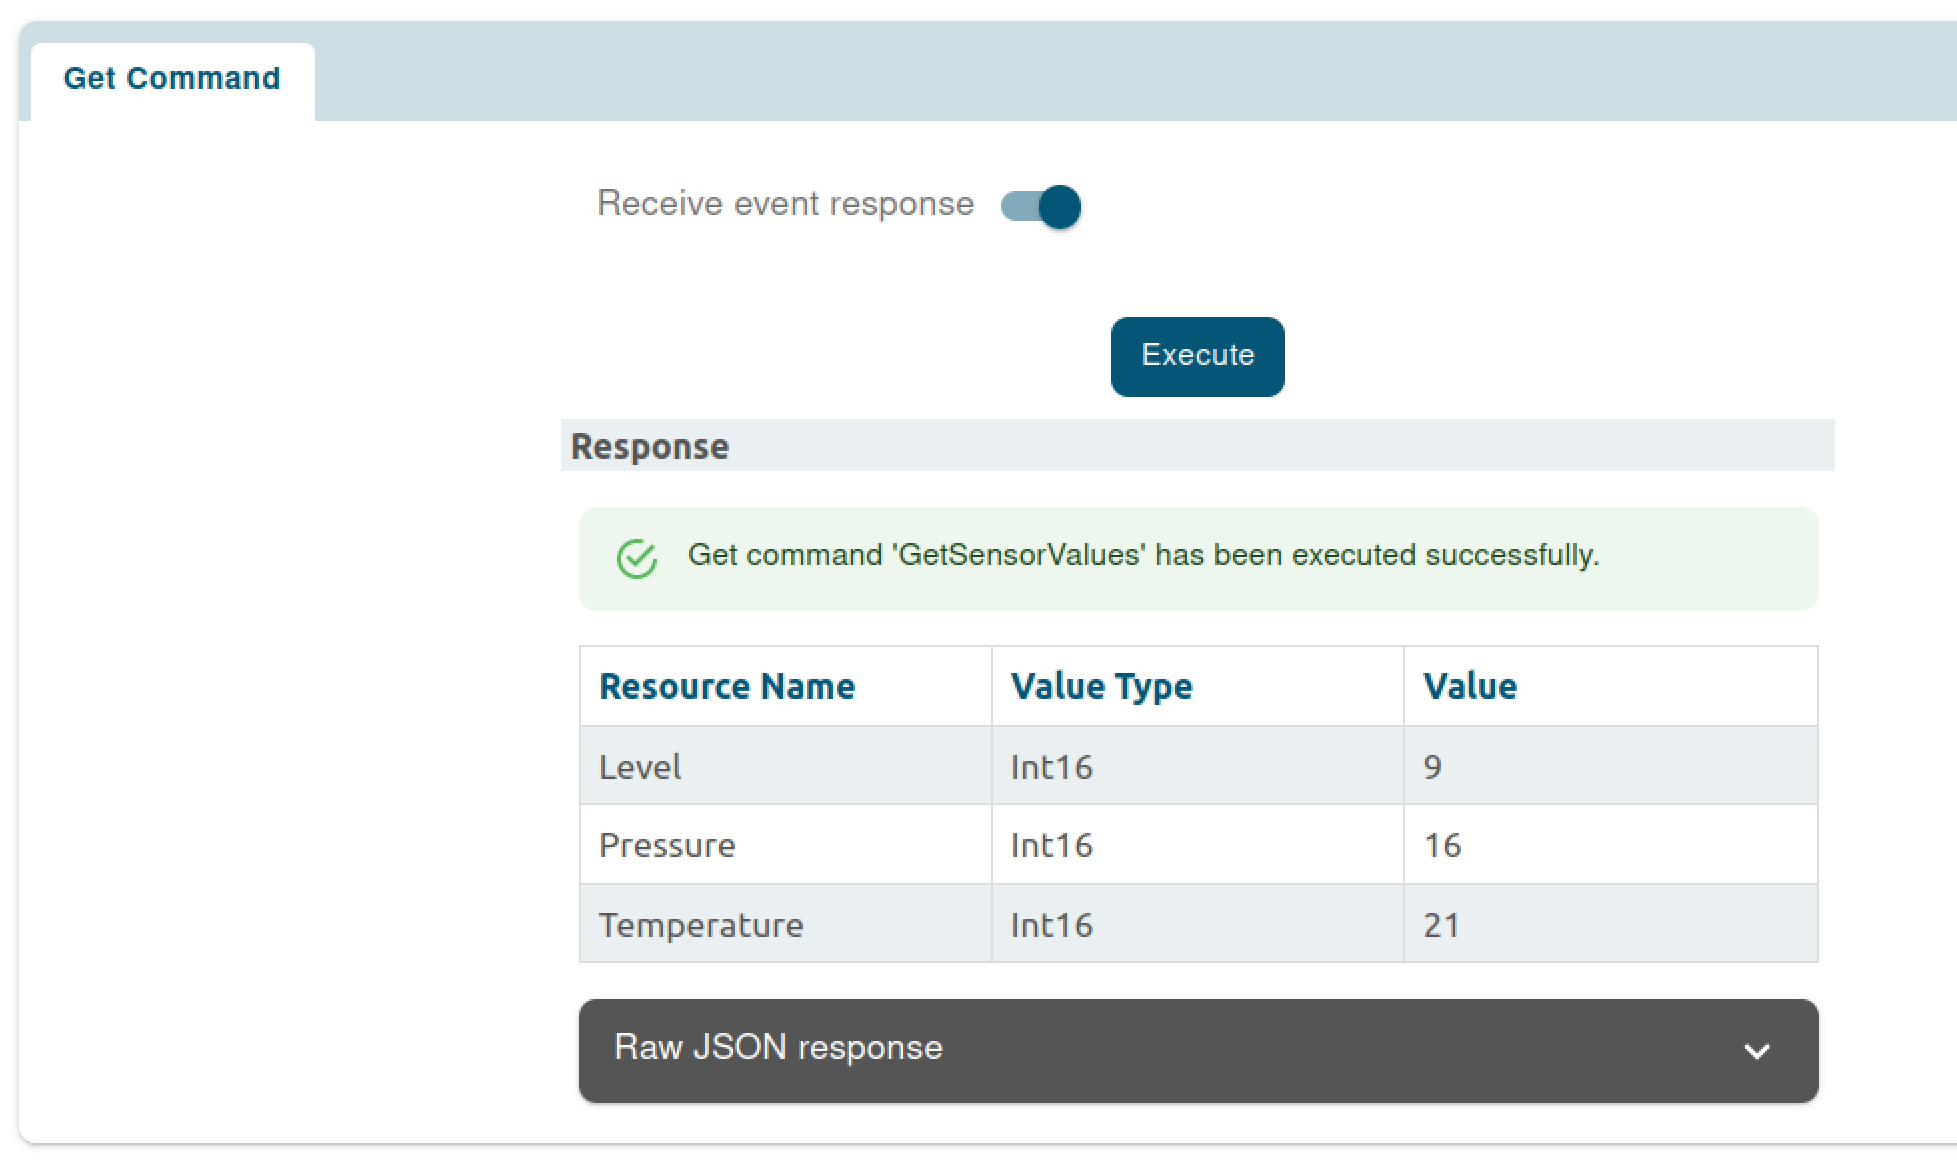
- Find GetSensorValues in the Command List
- In the Get Command tab, select Execute to issue the command
- The returned values should track the values shown on the Modbus simulator:
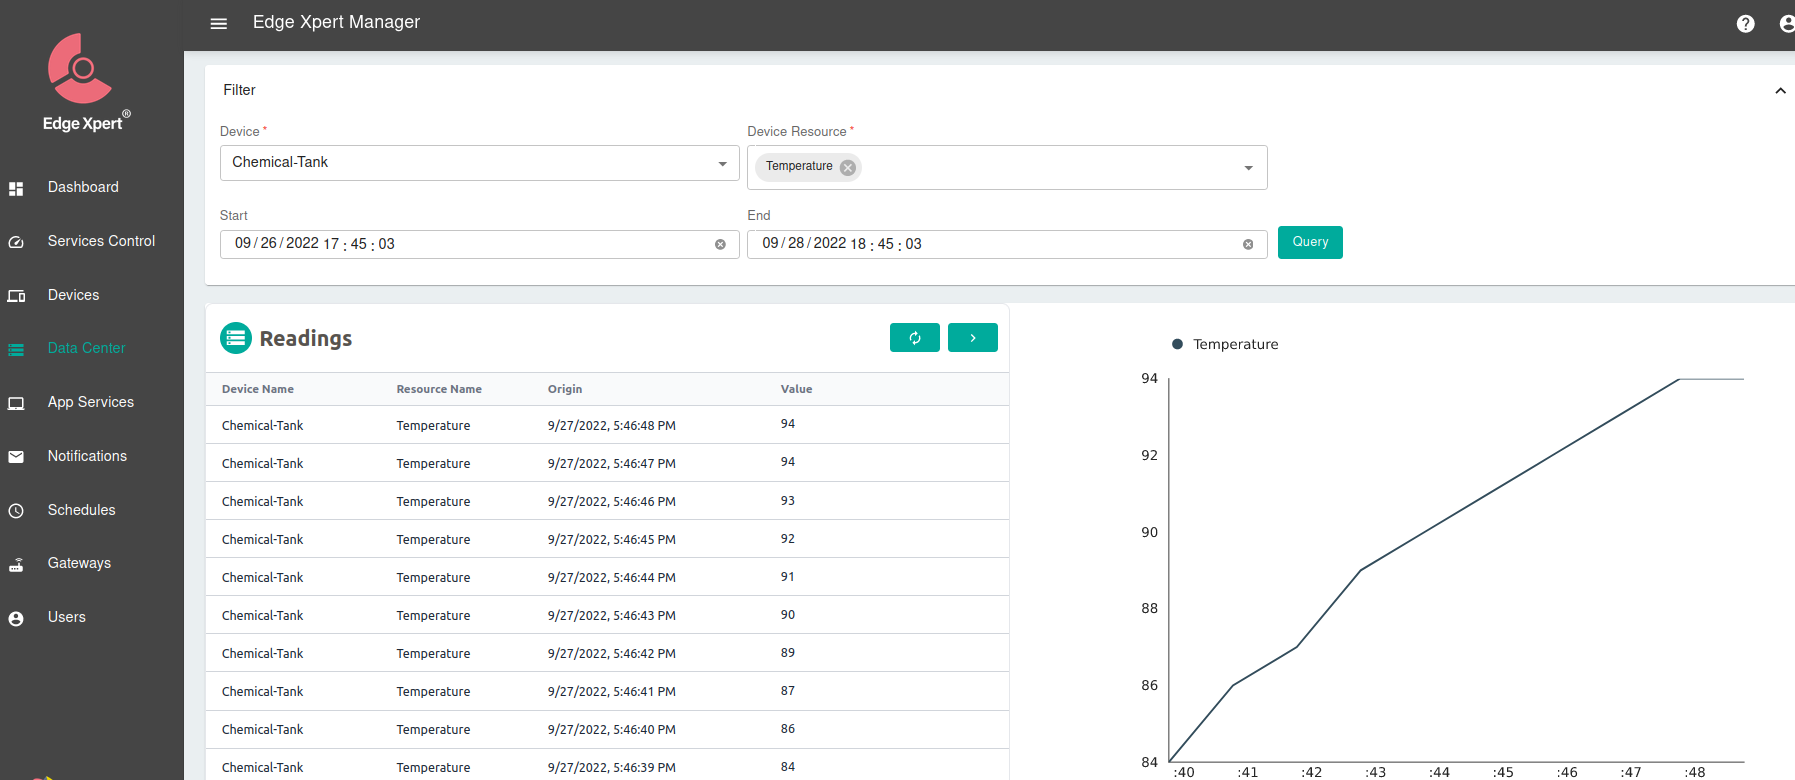
Alternatively, the Edge Xpert Manager also provides a Data Center feature that lets you view the data in table and chart form:
- Navigate to the Data Center
- For Device select Chemical-Tank
- Choose a Device Resource for example Temperature
- Select Query
Onboard the OPC-UA device
Following the above process, use the Edge Xpert Manager to upload the OPC-UA device profile:
- Navigate to Device Profiles and select Upload Profile
- Choose OutletValve.yaml from the tutorial project and select Save
Following the above process, use the Edge Xpert Manager device onboarding wizard to upload the OPC-UA device profile:
- Navigate to Devices and select Add Device
-
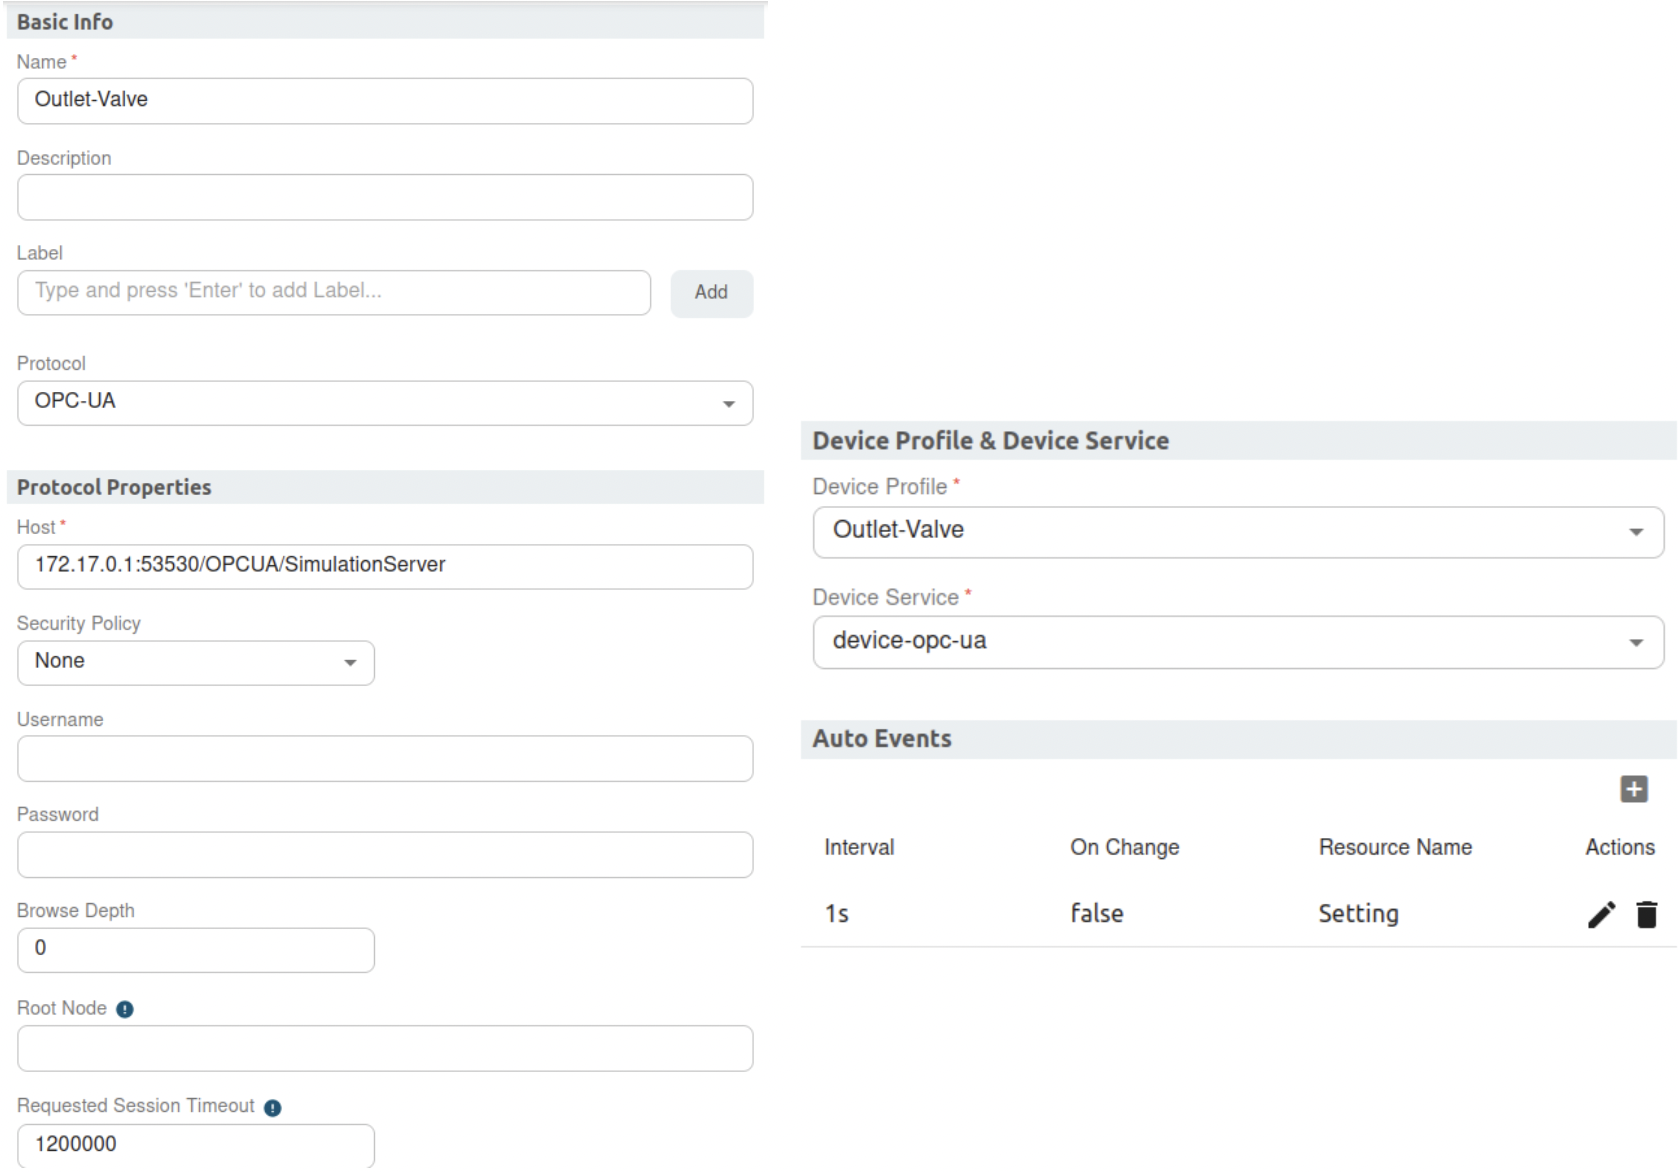
Use the following settings to onboard the device. Any fields not mentioned below should be left blank/default
Field Value Name Outlet-Valve Protocol OPC-UA Address 172.17.0.1:53530/OPCUA/SimulationServer Device Profile Outlet-Valve.yaml Device Service device-opc-ua AutoEvents - Interval: 1s, onChange: unchecked/false, Resource Name: Setting
-
See the screenshot below:
-
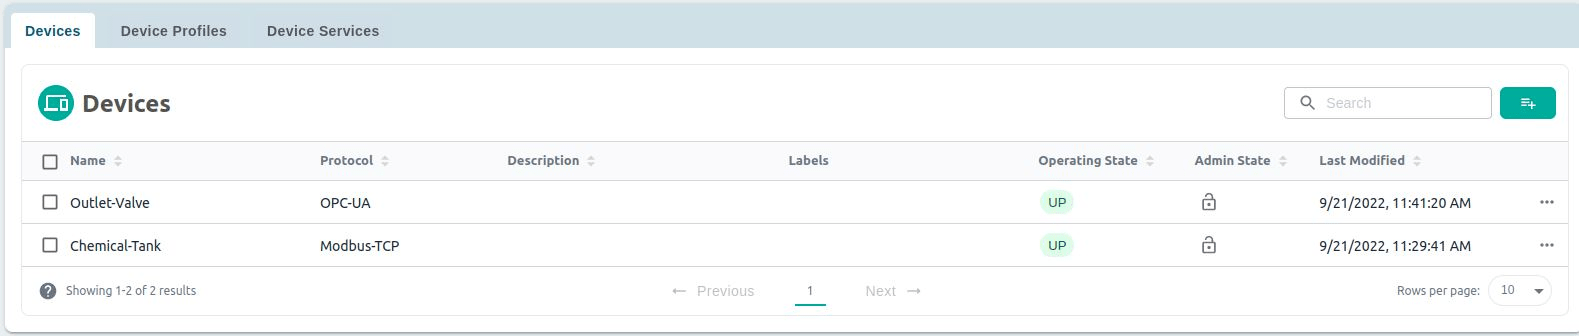
Click “Save” and now both devices should be connected:
View the OPC-UA data
As above, the OPC-UA data can be viewed either on the Control Device page for the specific device or in the Data Center.
Note
The Outlet Valve's Setting value will be 0 at this point. The rules engine, started in later steps, will open the valve (set its value to 1) when the Chemical Tank values reach specific levels
REST Commands
As an alternative to using the Edge Xpert Manager UI, the following steps can be followed to onboard the devices. This is useful when wishing to use scripts or use the programmatic interfaces of Edge Xpert.
Info
If Edge Xpert is running in secure mode, you will need to replace localhost in the URL with the IP address for the service. See CLI Service Ports for details.
Onboard the Modbus device
Upload the ChemicalTank profile to the Edge Xpert Meta Data Service:
curl http://localhost:59881/api/v2/deviceprofile/uploadfile -F "file=@ChemicalTank.yaml"
Onboard the device (using the same values as above) to the Edge Xpert Meta Data Service:
curl http://localhost:59881/api/v2/device -H "Content-Type:application/json" -X POST \
  -d '[
        {
          "apiVersion": "v2",
          "device": {
            "name": "Chemical-Tank",
            "adminState": "UNLOCKED",
            "operatingState": "UP",
            "protocols": {
              "modbus-tcp": {
                "Address": "172.17.0.1",
                "Port": "502",
                "UnitID": "1"
              }
            },
            "serviceName": "device-modbus",
            "protocolName":"modbus-tcp",
            "profileName": "Chemical-Tank",
            "autoEvents": [
              {
                "interval": "1s",
                "onChange": false,
                "sourceName": "Temperature"
              },
              {
                "interval": "1s",
                "onChange": false,
                "sourceName": "Pressure"
              },
              {
                "interval": "1s",
                "onChange": false,
                "sourceName": "Level"
              }
            ]
          }
        }
      ]'
View the Modbus data
The data values can be retrieved as follows:
- Calling onto the Core Command Service (which will delegate onto the appropriate Device Service):
curl http://localhost:59882/api/v2/device/name/Chemical-Tank/Temperature
Onboard the OPC-UA device
Upload the Outlet Valve profile to the Edge Xpert Meta Data Service:
curl http://localhost:59881/api/v2/deviceprofile/uploadfile -F "file=@OutletValve.yaml"
Onboard the device (using the same values as above) to the Edge Xpert Meta Data Service:
curl http://localhost:59881/api/v2/device -H "Content-Type:application/json" -X POST \
  -d '[
        {
          "apiVersion": "v2",
          "device": {
            "name": "Outlet-Valve",
            "adminState": "UNLOCKED",
            "operatingState": "UP",
            "protocols": {
              "OPC-UA": {
                "Address": "172.17.0.1:53530/OPCUA/SimulationServer"
              }
            },
            "serviceName": "device-opc-ua",
            "protocolName":"opc-ua",
            "profileName": "Outlet-Valve",
            "autoEvents": [
              {
                "interval": "1s",
                "onChange": false,
                "sourceName": "Setting"
              }
            ]
          }
        }
      ]'
View the OPC-UA data
The data values can be retrieved as follows:
- Calling onto the Core Command Service (which will delegate onto the appropriate Device Service):
curl http://localhost:59882/api/v2/device/name/Outlet-Valve/Setting